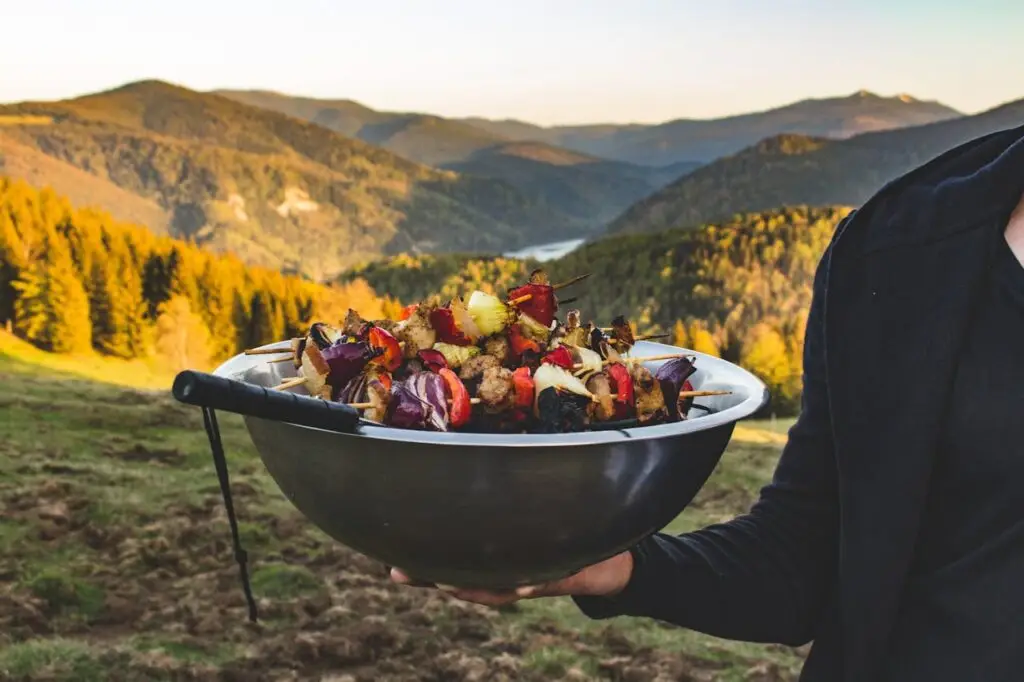
Mastering Meal Planning for Your RV Road Trip: A Culinary Adventure Awaits
Thank you for reading this post, don't forget to subscribe!Embarking on an RV road trip is an exhilarating experience, and having delicious meals planned out makes it even better. Meal planning for an RV trip ensures you’re well-fed, healthy, and ready to embrace the adventure ahead. From grilling under the stars to crafting tasty treats in your cozy kitchen on wheels, let’s dive into the essentials of RV meal planning and discover some mouthwatering recipes.
The Joy of RV Meal Planning
Planning meals for your RV journey is not just about sustenance; it’s about creating memorable culinary experiences. Knowing what you’ll eat each day eliminates stress and allows more time for exploring. Plus, with the limited space in an RV, efficient meal planning helps in maximizing storage and minimizing waste.
Essential Tips for RV Meal Planning
- Know Your Storage: Understand your RV’s storage capacity. Use stackable containers and vacuum-sealed bags to save space.
- Pre-Prep at Home: Chop vegetables, marinate meats, and portion out snacks before hitting the road.
- Opt for Multi-Use Ingredients: Choose ingredients that can be used in multiple recipes to save space and reduce waste.
- Plan for Easy Clean-Up: One-pot meals and foil packet recipes are perfect for RV cooking as they minimize dishes.
- Stay Organized: Use a meal planning app or a simple notebook to jot down your menu and grocery list.
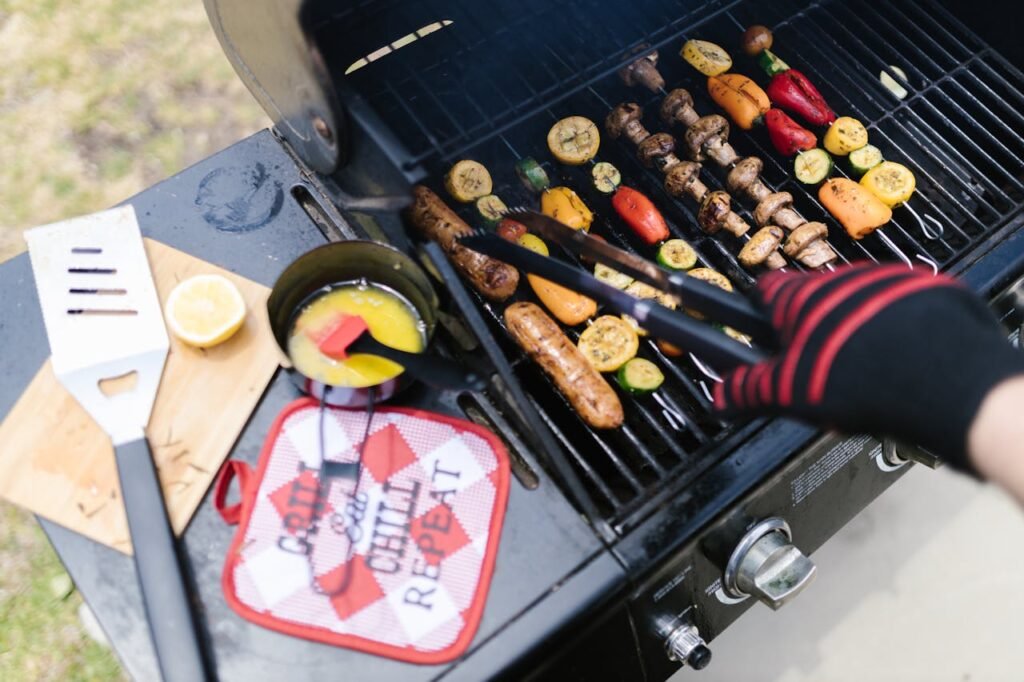
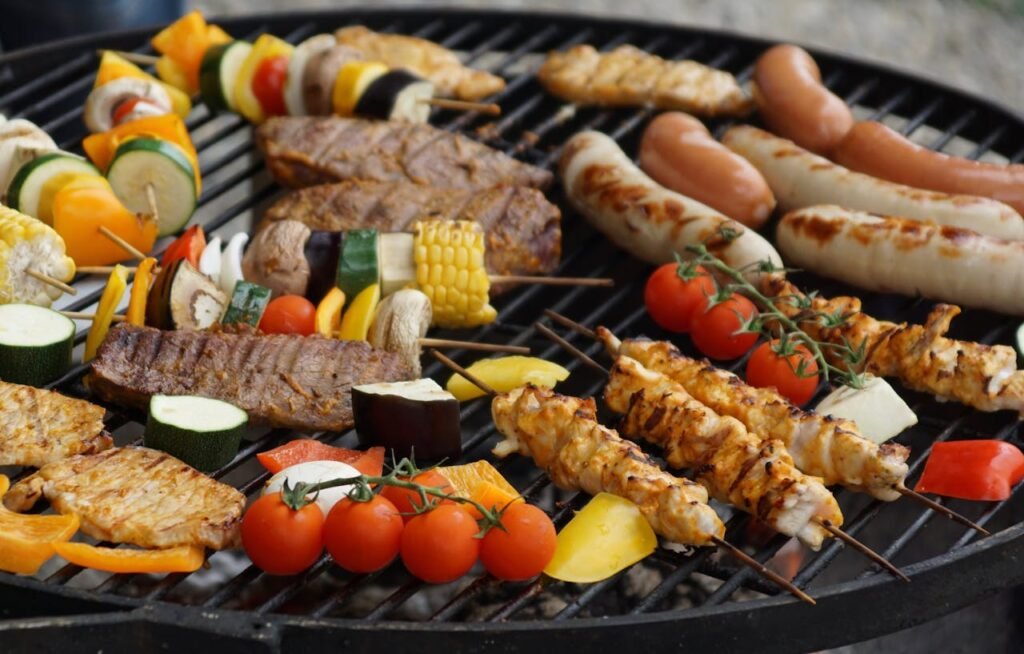
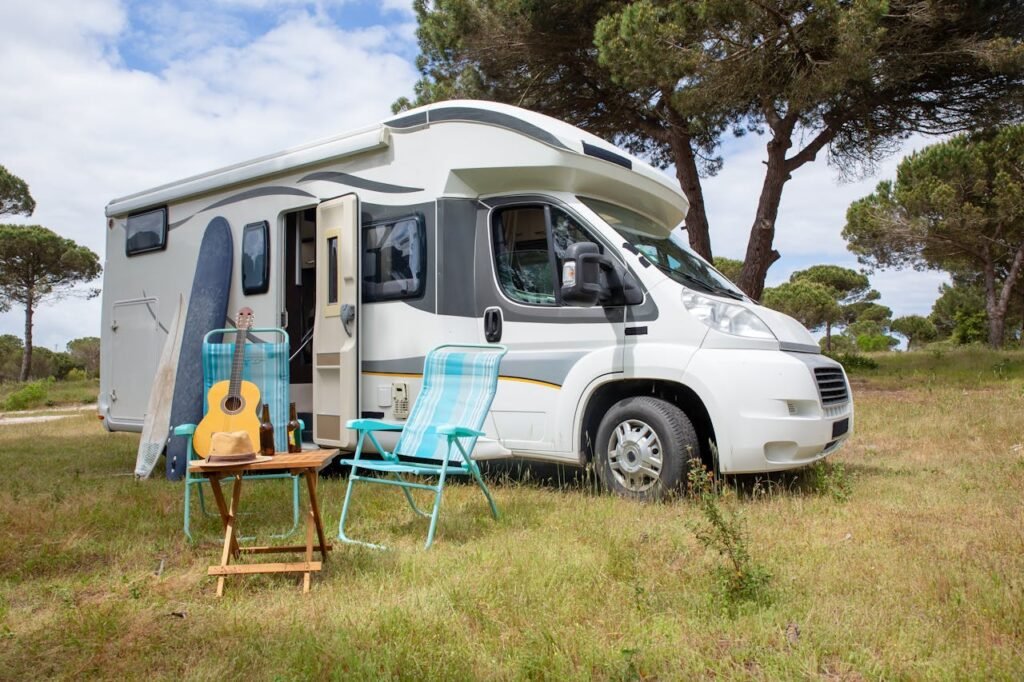
Grilling on the Go: Tips for RV Grilling
Grilling is a quintessential part of the RV experience. Whether you’re at a scenic campsite or a cozy RV park, grilling adds a smoky, delicious flavor to your meals. Here are some tips to master the art of RV grilling:
- Portable Grill: Invest in a compact, portable grill that’s easy to store and set up.
- Fuel: Ensure you have enough propane or charcoal for your trip. Always carry extra.
- Prep Space: Utilize a foldable table as a prep station.
- Tools: Bring along essential grilling tools like tongs, a spatula, and a meat thermometer.
- Clean-Up: Have a plan for disposing of ashes or propane canisters and cleaning the grill grates.
Recipe 1: Grilled Honey-Lime Chicken Skewers
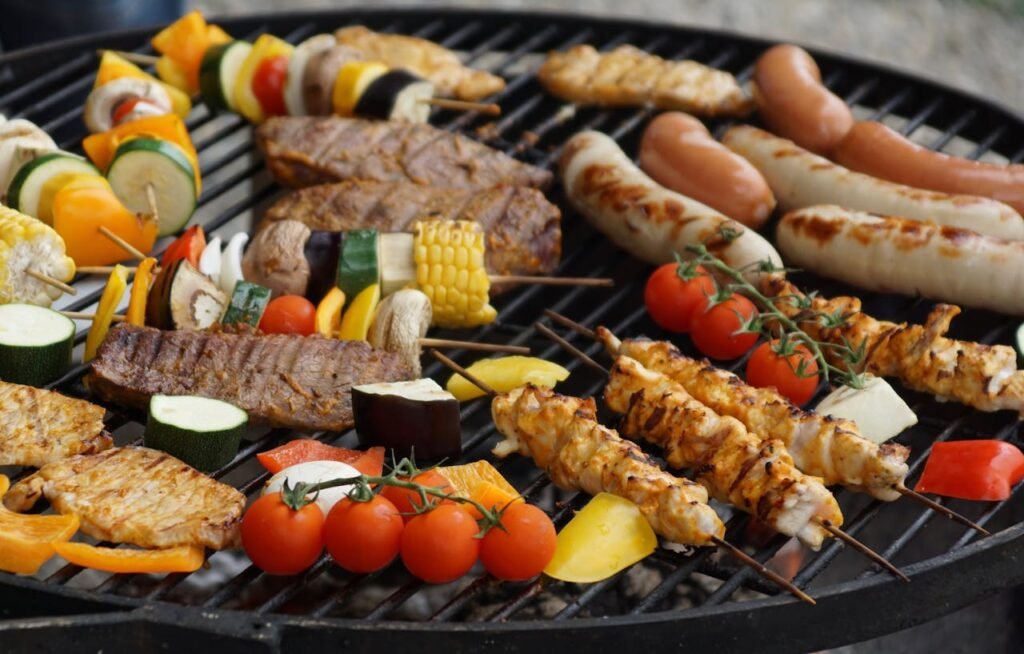
Ingredients:
- 1 lb chicken breast, cut into cubes
- 1/4 cup honey
- 1/4 cup lime juice
- 2 tbsp soy sauce
- 2 cloves garlic, minced
- 1 tsp cumin
- Salt and pepper to taste
- Skewers
Instructions:
- Marinate the Chicken: In a bowl, mix honey, lime juice, soy sauce, garlic, cumin, salt, and pepper. Add the chicken cubes and marinate for at least 30 minutes.
- Prepare the Grill: Preheat your grill to medium-high heat.
- Skewer and Grill: Thread the marinated chicken onto skewers. Grill for 10-12 minutes, turning occasionally, until the chicken is cooked through and has a nice char.
- Serve and Enjoy: Serve with a side of grilled vegetables or a fresh salad.
Why It’s Good for You: This dish is packed with protein, and the honey-lime marinade offers a burst of zesty sweetness, perfect for lifting your spirits and energizing your body.
Recipe 2: Campfire Veggie Foil Packs

Ingredients:
- 2 zucchinis, sliced
- 1 bell pepper, diced
- 1 red onion, chopped
- 1 cup cherry tomatoes, halved
- 2 tbsp olive oil
- 2 cloves garlic, minced
- Salt and pepper to taste
- Fresh herbs (thyme, rosemary)
Instructions:
- Prepare the Veggies: In a large bowl, combine all the vegetables. Drizzle with olive oil, add garlic, salt, pepper, and herbs. Toss to coat evenly.
- Foil Packs: Cut out large sheets of aluminum foil. Place a portion of the veggie mix in the center of each sheet. Fold the foil to create a sealed packet.
- Grill: Place the foil packs on the grill or over a campfire. Cook for 15-20 minutes, shaking occasionally, until the veggies are tender.
- Serve and Enjoy: Carefully open the foil packs (watch out for steam) and enjoy your flavorful, healthy veggie medley.
Why It’s Good for You: Packed with vitamins and fiber, these veggie foil packs are a guilt-free way to indulge in savory goodness, supporting both your physical and mental well-being.
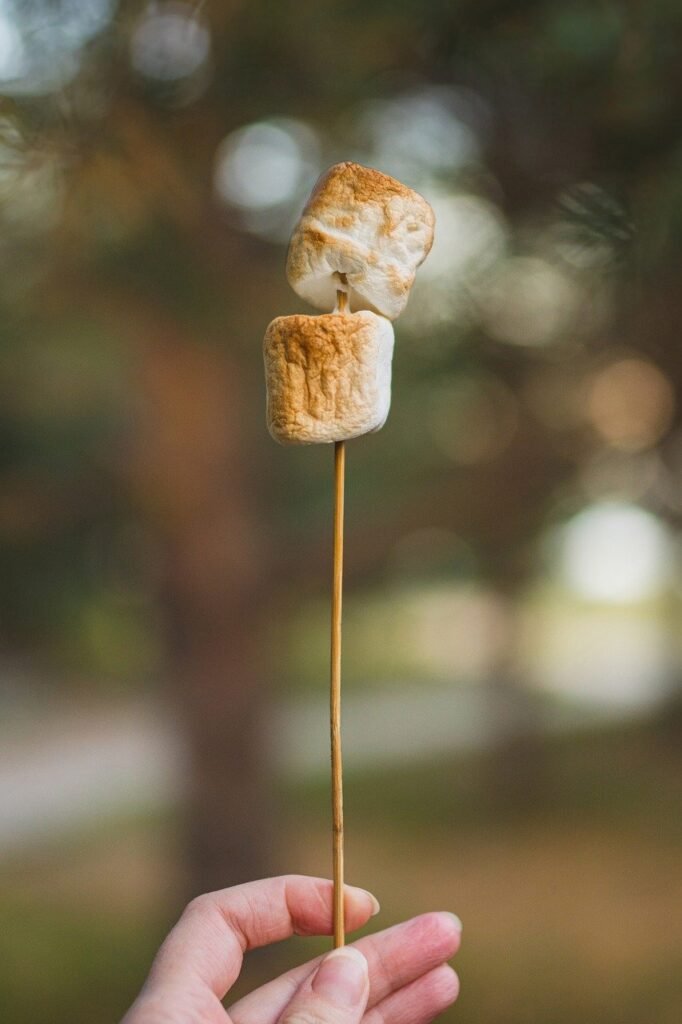
Recipe 3: Cast Iron Skillet’S mores Dip

Ingredients:
- 1 cup chocolate chips
- 1 cup mini marshmallows
- Graham crackers for dipping
Instructions:
- Preheat the Skillet: Place a cast iron skillet on the grill or over a campfire and let it heat up.
- Layer Chocolate and Marshmallows: Once the skillet is hot, add the chocolate chips in an even layer, followed by the mini marshmallows on top.
- Melt and Toast: Cover the skillet with foil and let it sit for a few minutes until the chocolate is melted and the marshmallows are golden and gooey.
- Serve and Enjoy: Use graham crackers to dip into the gooey’s mores mix and enjoy this classic campfire treat.
Why It’s Good for You: This delightful dessert is not just a treat for your taste buds but also a nostalgic experience that brings joy and relaxation, enhancing your overall mood.
Additional Tips for a Smooth RV Cooking Experience
- Use Local Ingredients: When you stop at different locations, explore local markets for fresh ingredients. This not only supports local businesses but also adds variety to your meals.
- Stay Hydrated: Always have plenty of water on hand for cooking and drinking.
- Safety First: Ensure your RV is well-ventilated when cooking indoors to avoid any buildup of smoke or fumes.
- Flexible Meals: Plan meals that can be easily adjusted based on what’s available. Flexibility is key to a stress-free RV cooking experience.
- Enjoy the Process: Cooking in an RV is an adventure. Embrace the experience, try new recipes, and enjoy the journey as much as the destination.
Final Thoughts
Meal planning for an RV road trip doesn’t have to be daunting. With a little preparation and creativity, you can enjoy delicious, healthy meals throughout your journey. From grilling savory skewers to crafting sweet treats by the campfire, every meal can become a memorable part of your adventure. So, pack your RV, gather your ingredients, and get ready to embark on a culinary journey that complements your exploration of the open road.
Bon appètit and happy travels!


